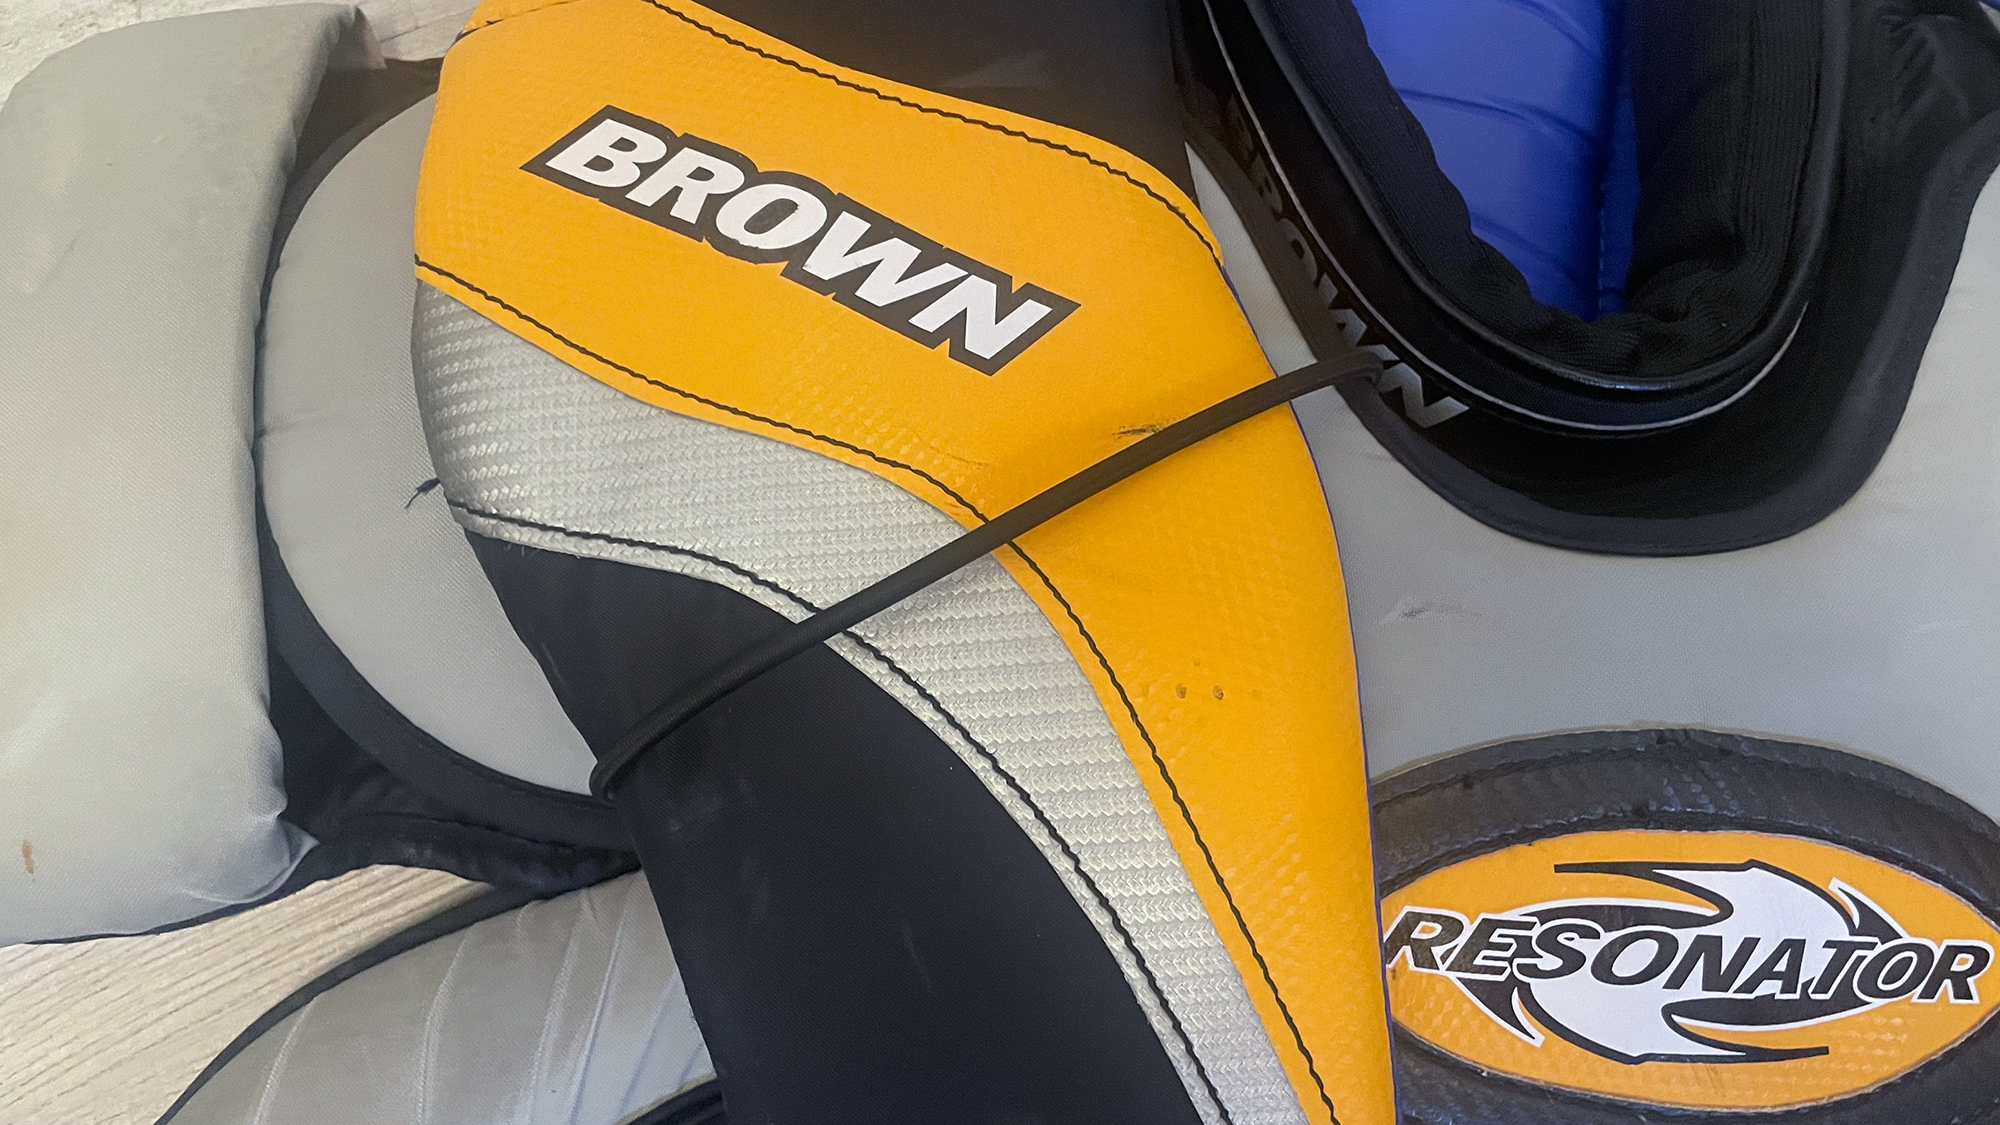
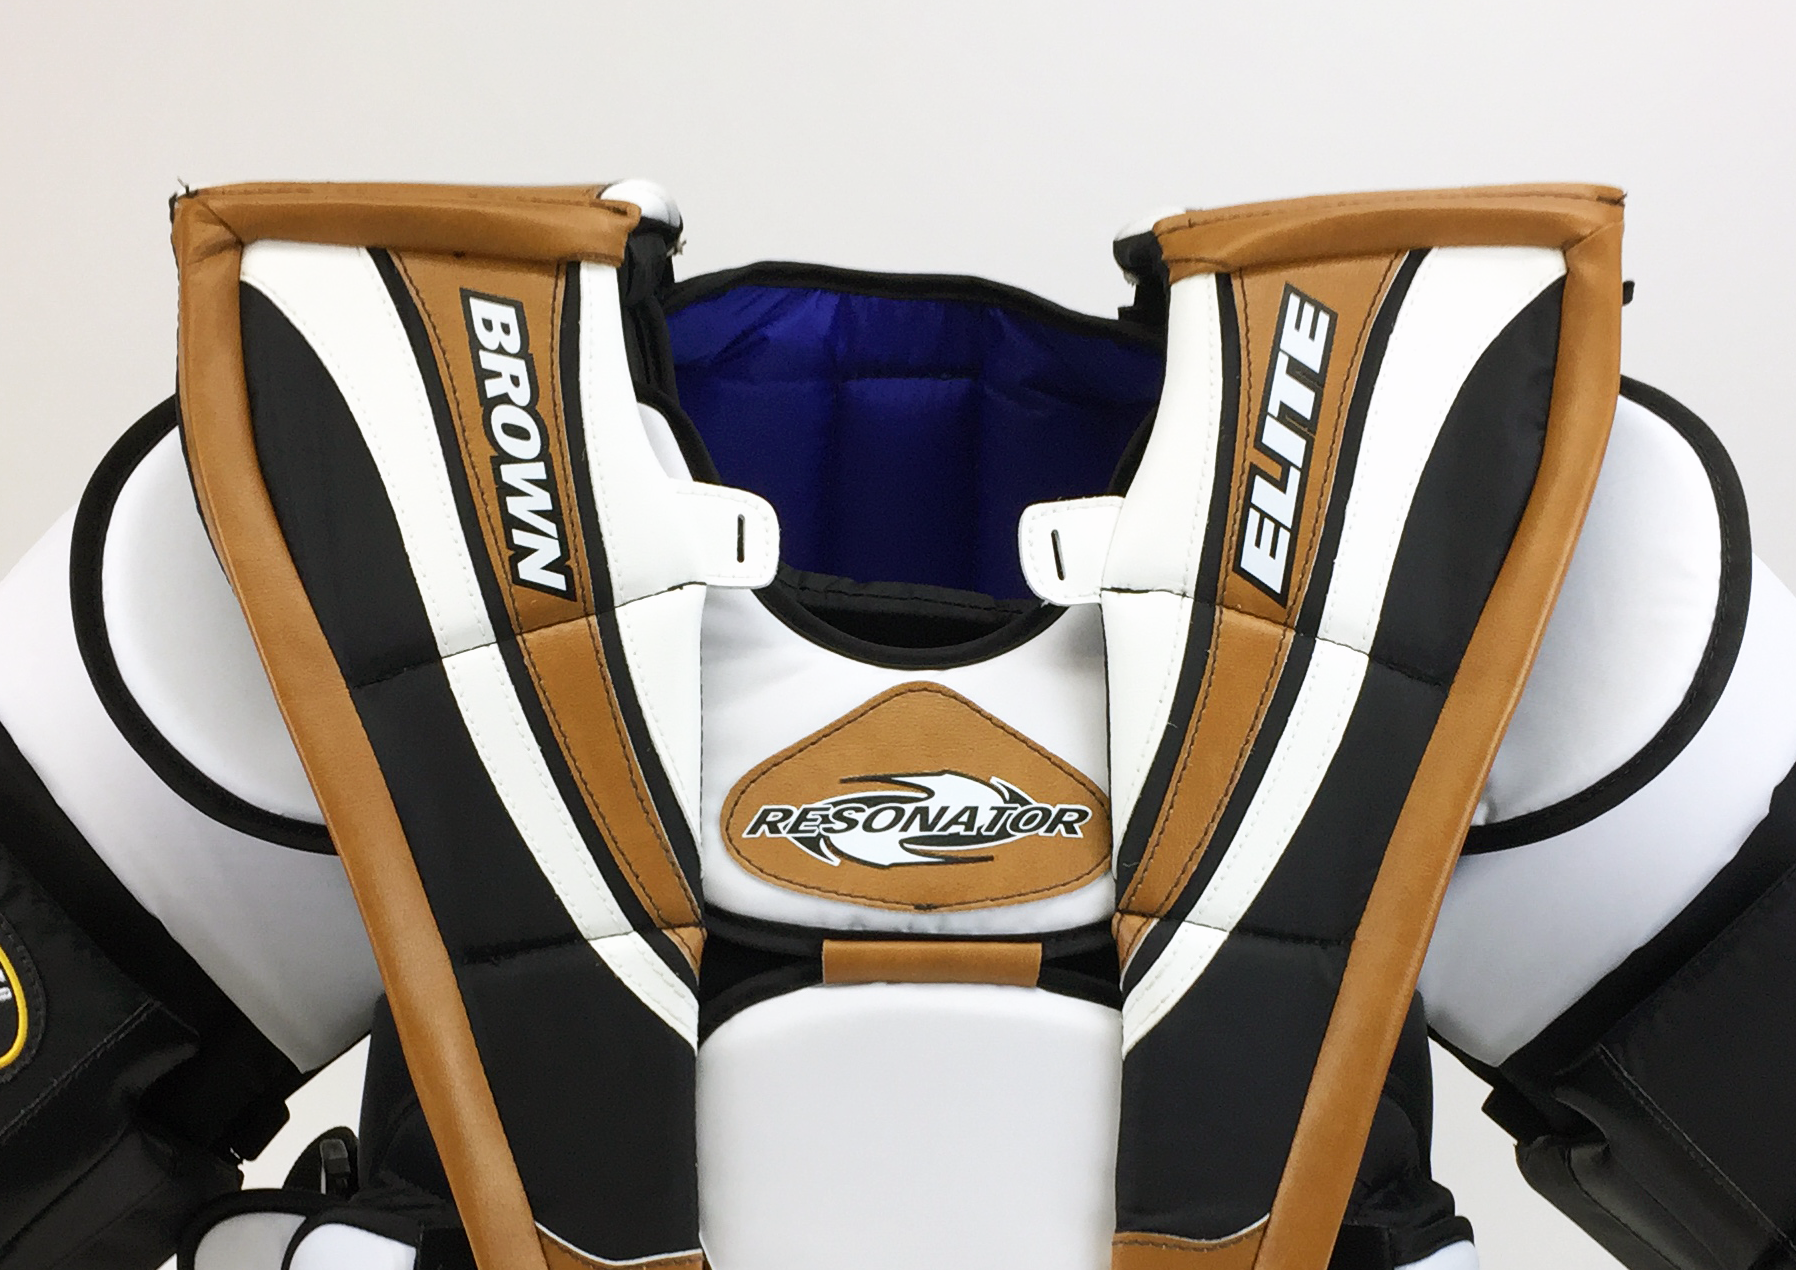
Old Shoulder Wings
How to perk up your shoulder wings
Over time shoulder wings can flop away from the midline due to elastics stretching too much.
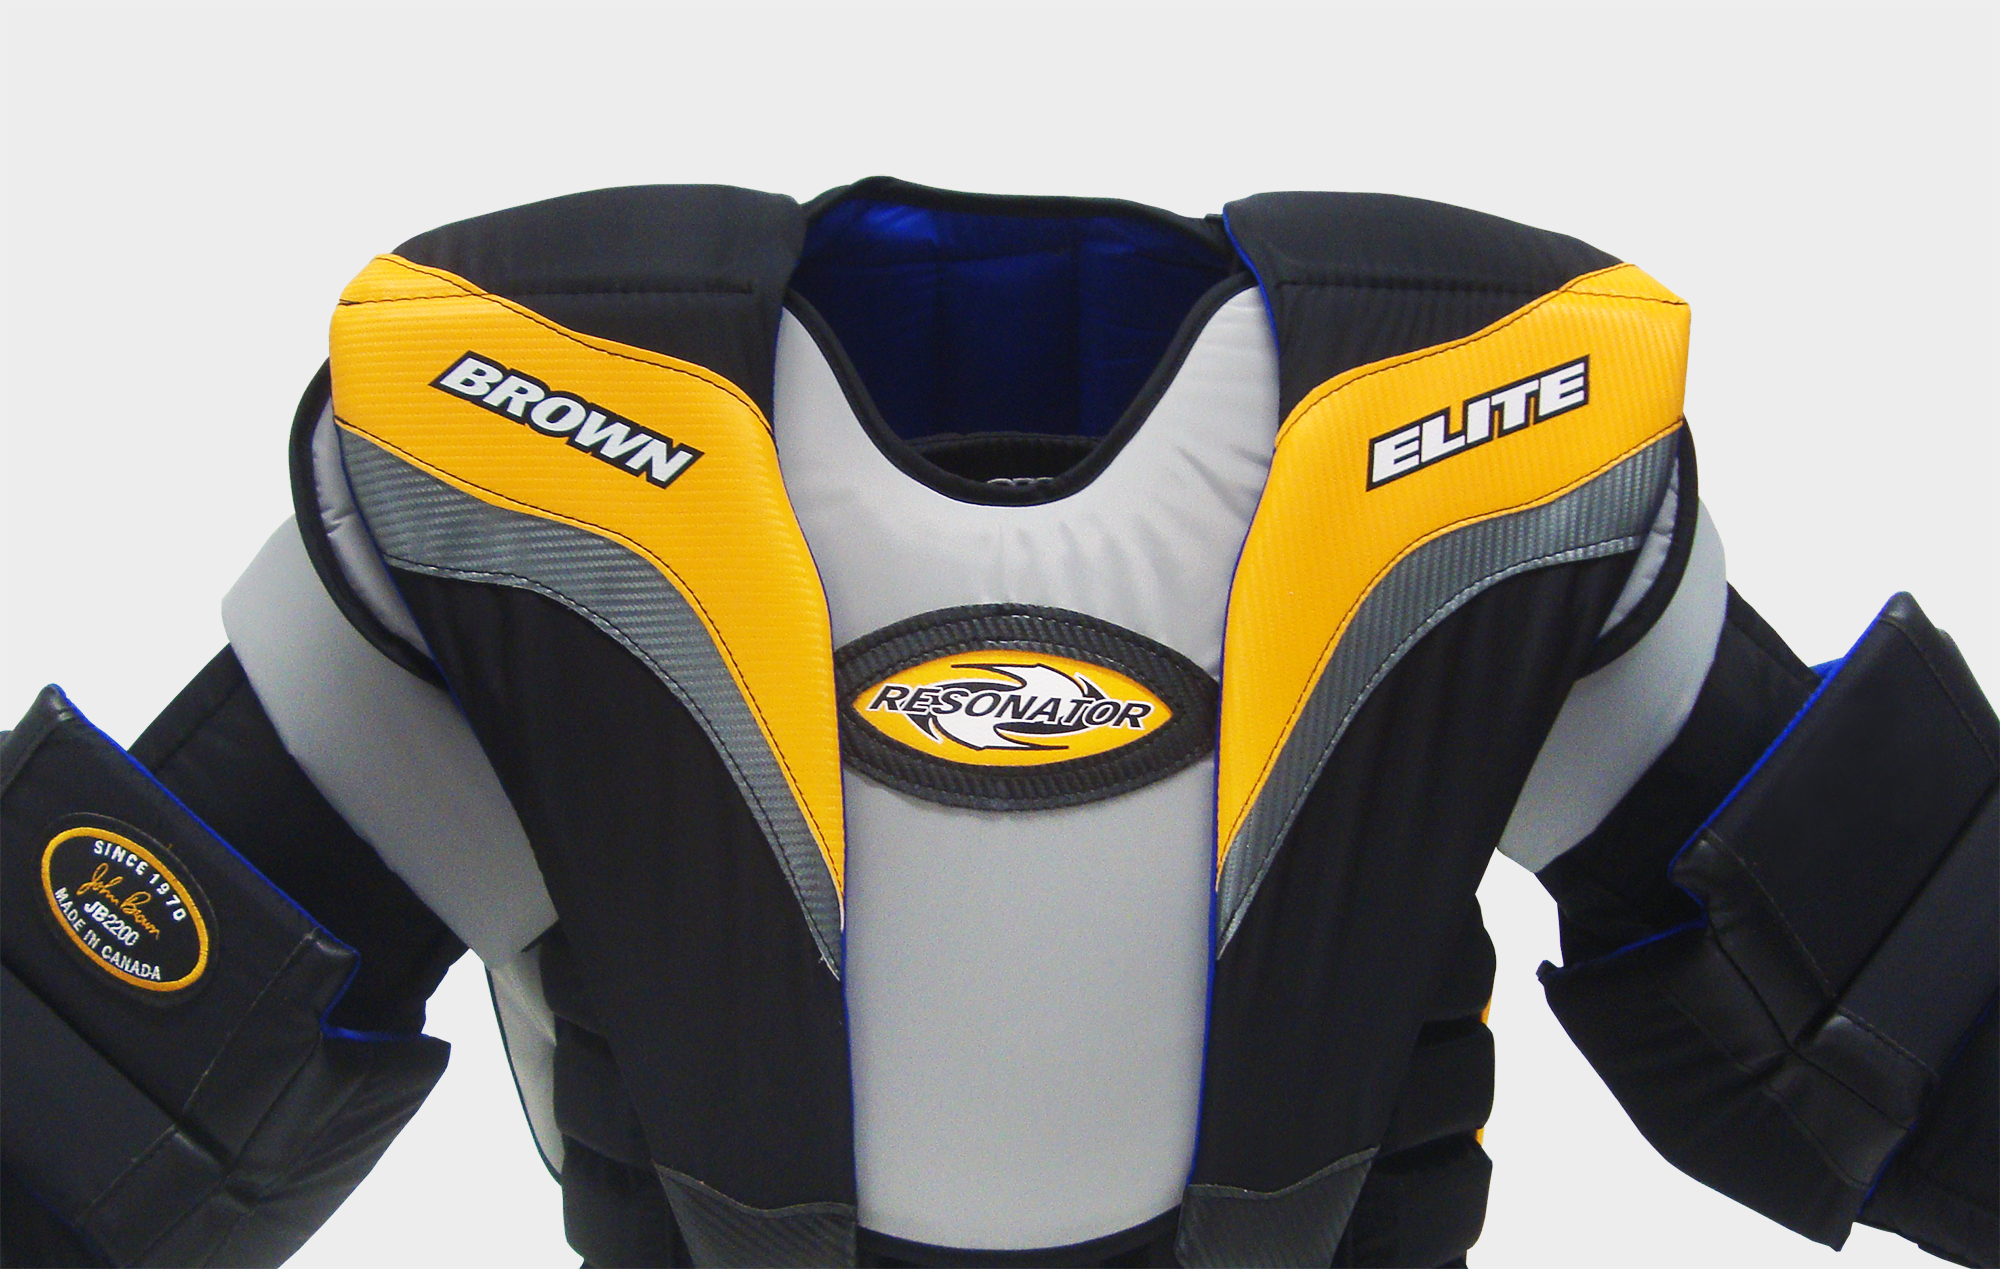
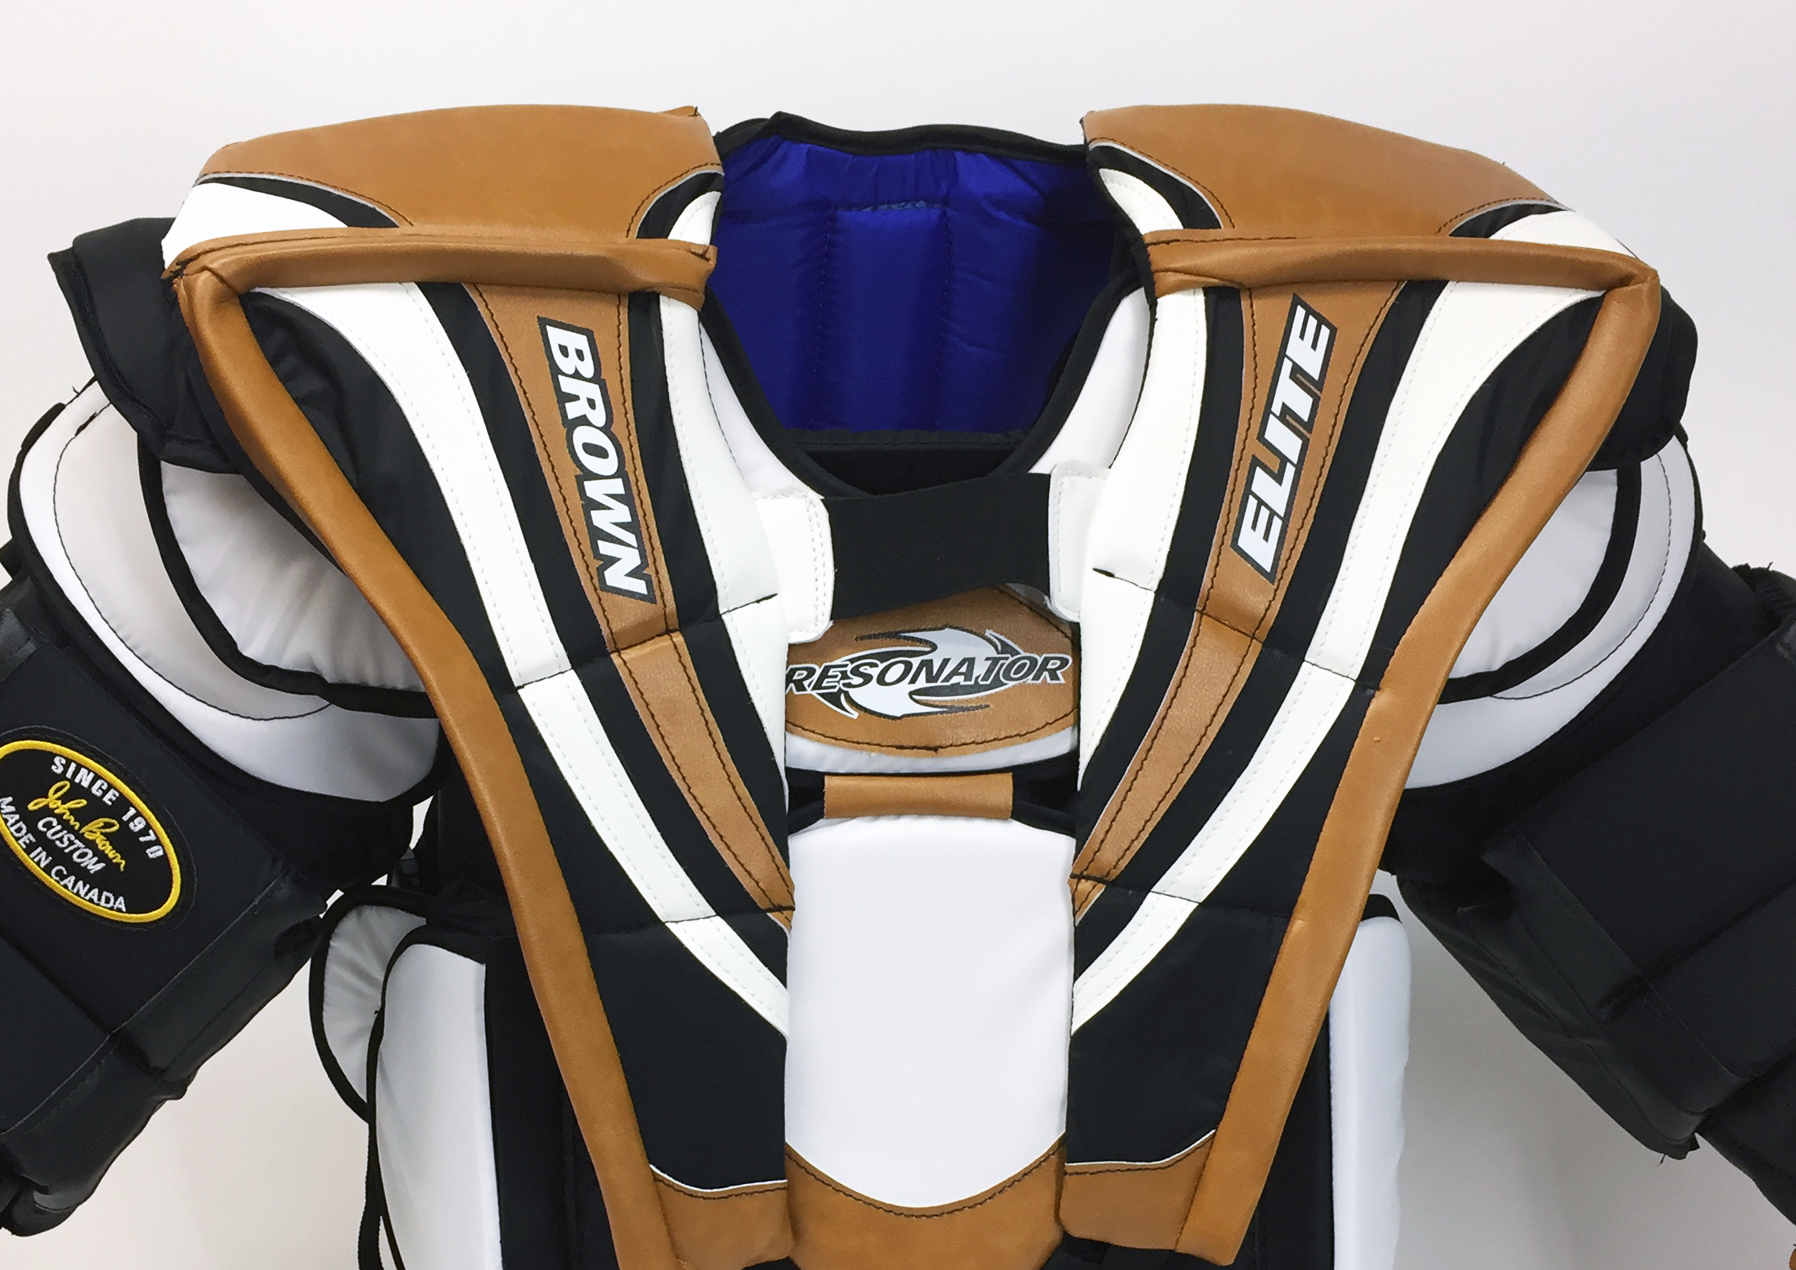
New square shoulder wings
Old droopy shoulder wings
Why it Happens
The shoulder wings are held in position with elastics. This method of securing the shoulder wings to the chest protector body gives the goalie a wide range of unrestricted movements. Using elastics has a minor downside though. If an elastic is stretched too far, it can lose elasticity. All elastics have a safe range, and if an elastic is stretched beyond its safe range, then deformation occurs. A deformed elastic still has elasticity but often it is longer than its original length and will never be the same.
Stretched Elastics
The loss of elasticity usually occurs gradually over many years from general wear and tear. Many goalies can easily wear a chest protector for 6+ years without seeing any loss in elasticity for their shoulder wing elastics. Unfortunately, it is also possible to lose elasticity much quicker due to excessive or prolonged stretching of the elastics.
Examples of excessive or prolonged stretching are: carrying the chest protector from the shoulder wings, hanging the chest protector from the shoulder wings, stuffing the chest protector in a hockey bag and allowing the shoulder wings to get pushed or pulled in odd positions for extended periods of time, a tight jersey pulling the shoulder wings out of position for muliple games and/or practices, etc.
It can be upsetting to see the shoulder wings looking tired and droopy, but it is possible to revive old shoulder wings quickly and easily.
How to Fix
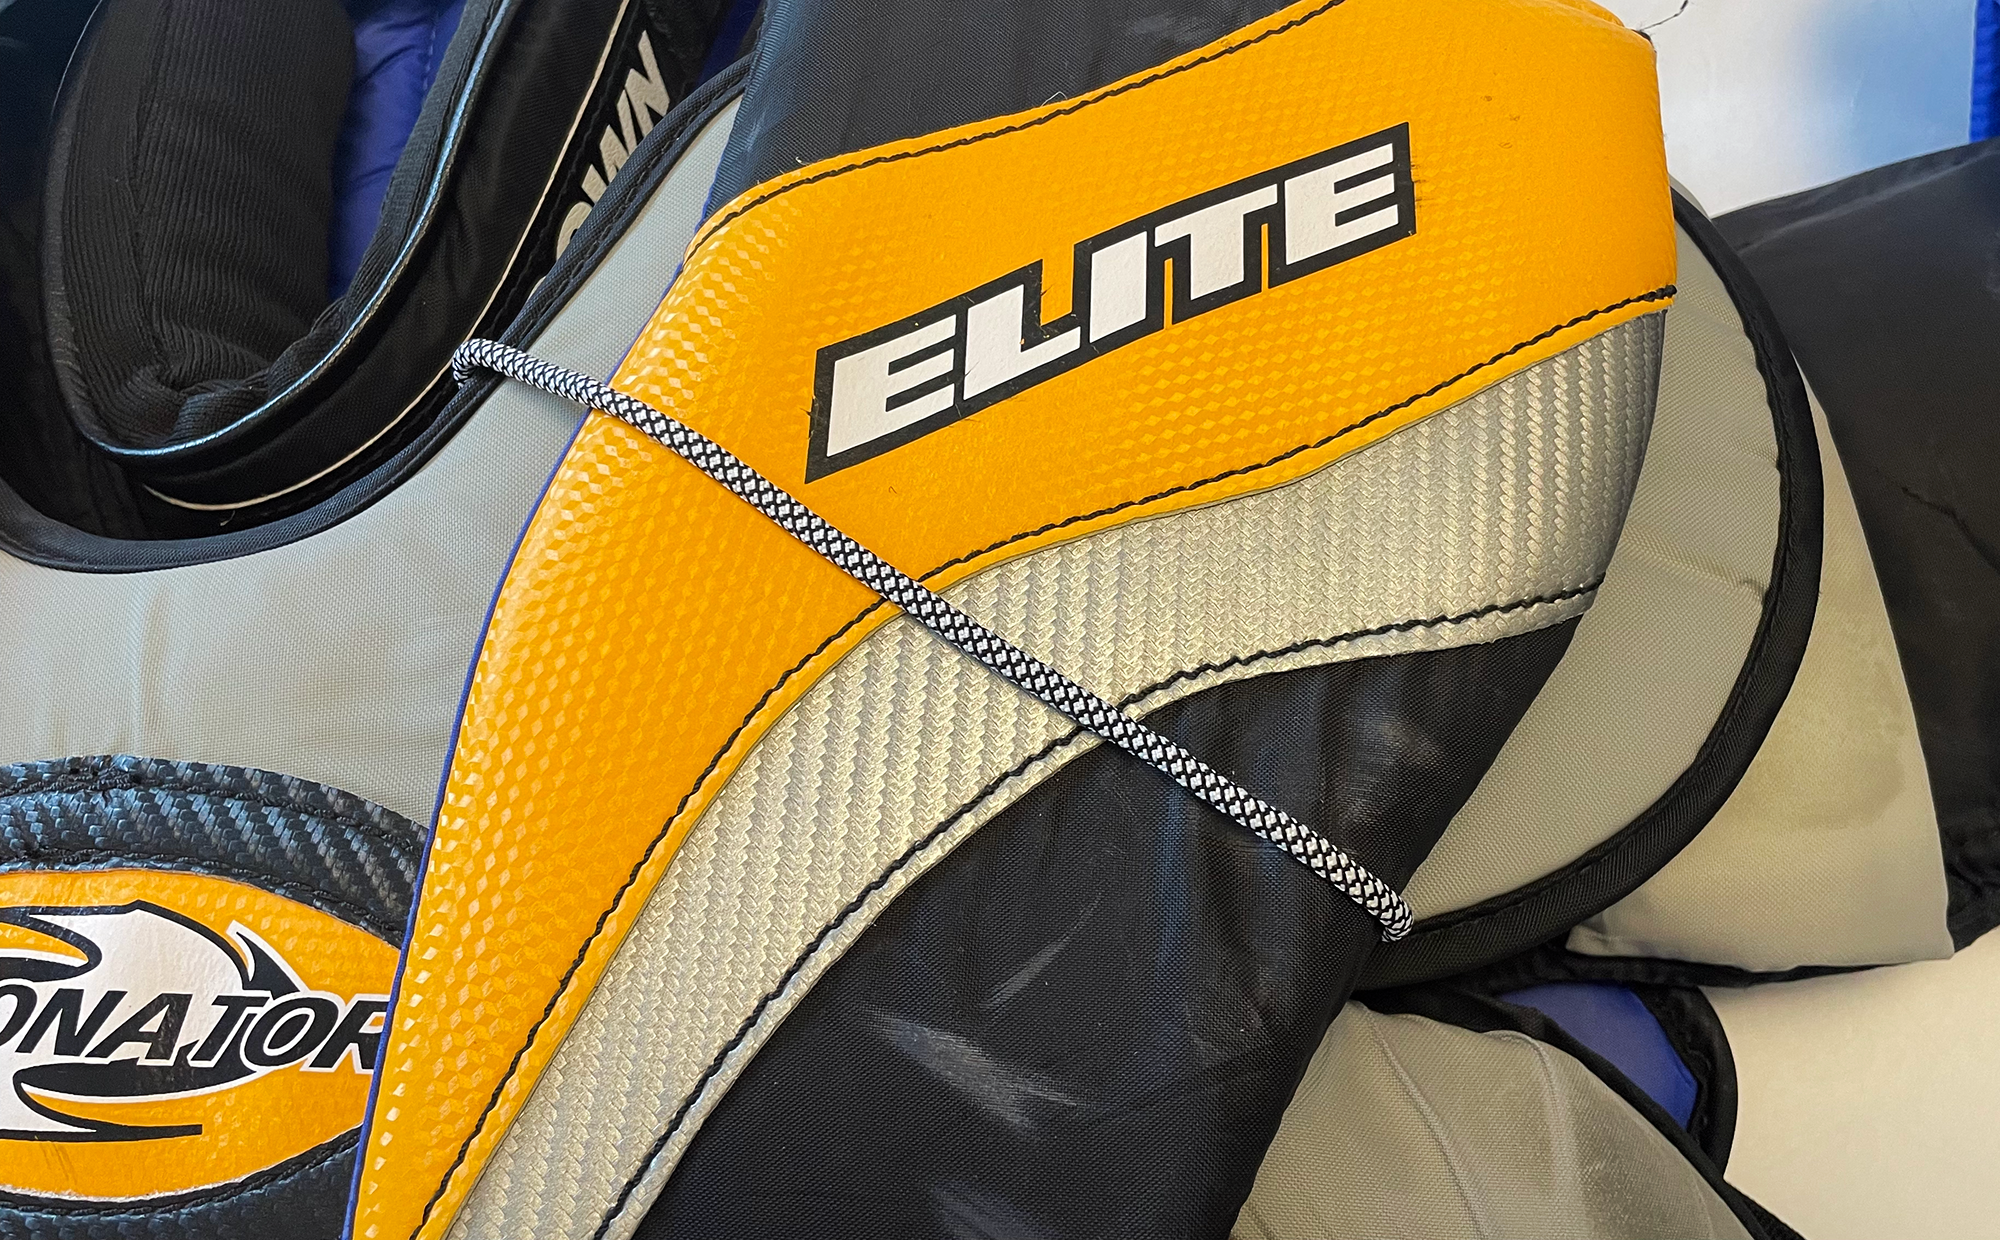
The best way to revive shoulder wings that are drooping or sitting too far from the midline of the body is to secure them to the breast plate with skate lace.
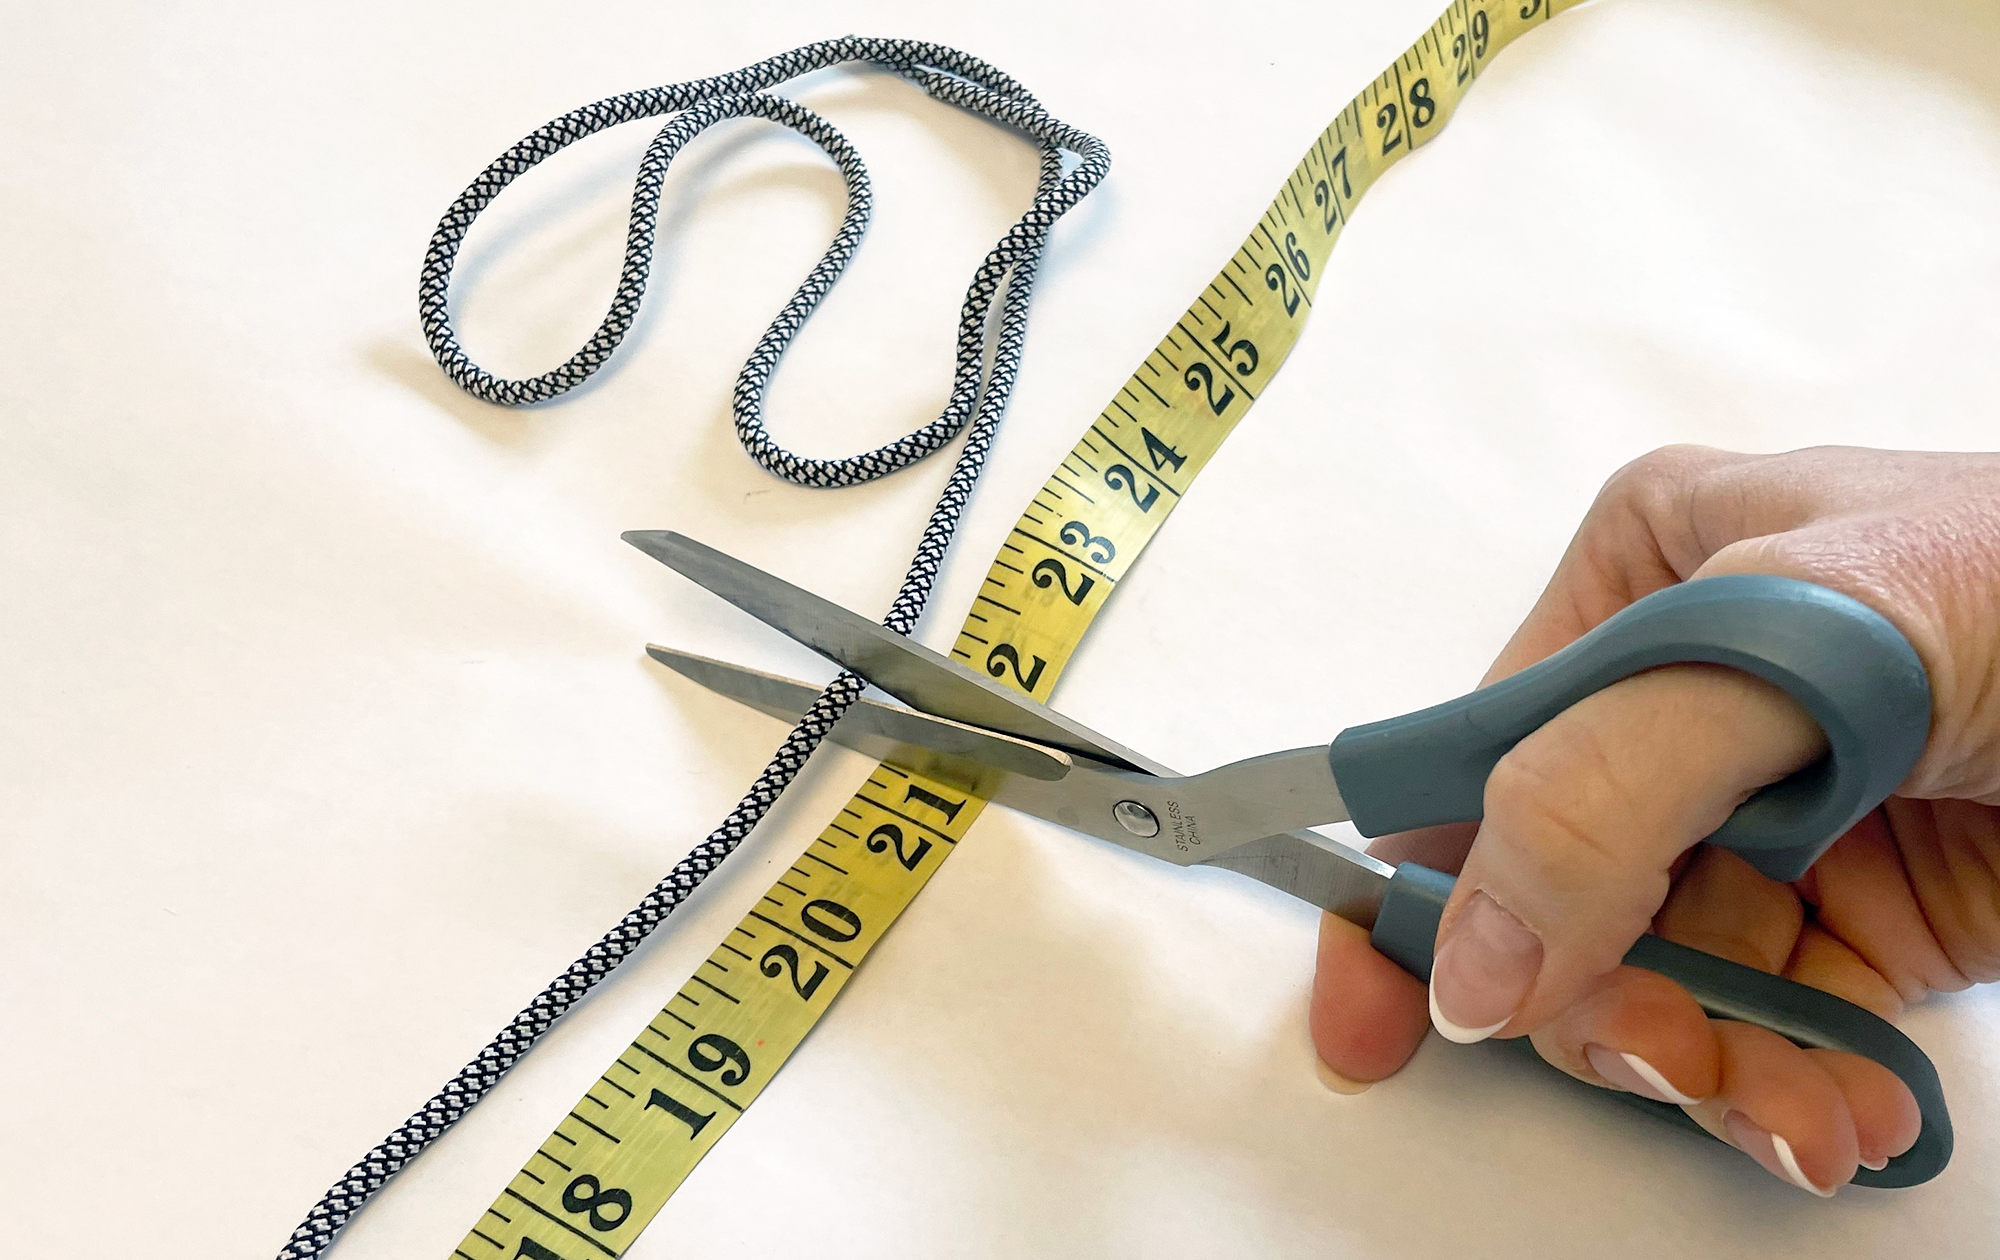
Step 1
Use a durable lace, such as a skate lace, or shoe lace. Bungee cord will also work but it can be difficult to make a secure knot. Cut the lace so it measures approximately 21" (53cm) long. If the shoulder wings are extra wide, then a longer piece of lace will be required.
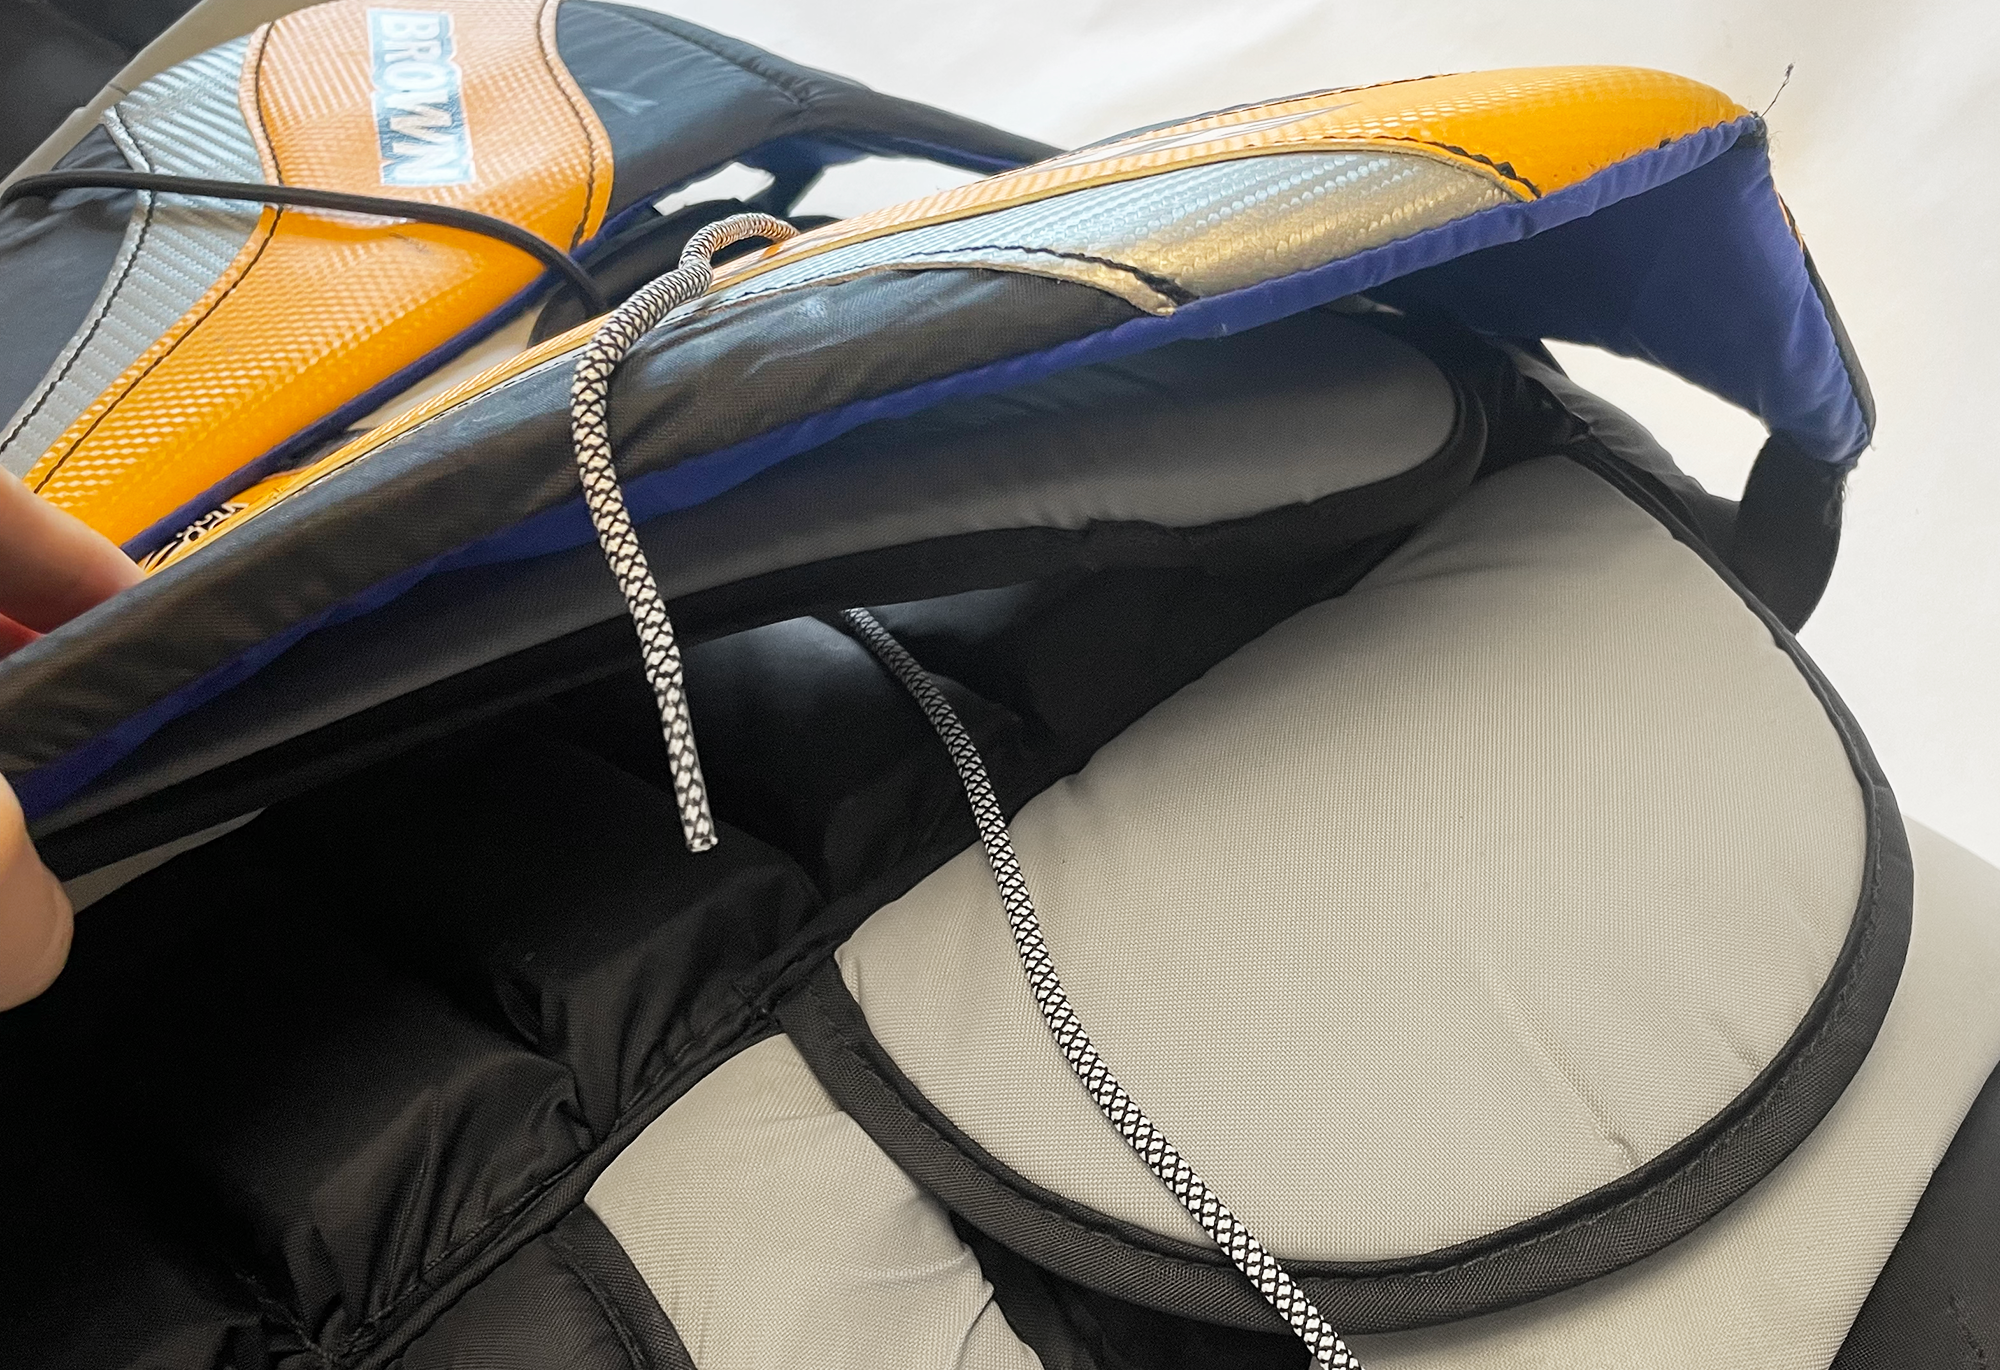
Step 2
Place the lace under the shoulder wing and under the top portion of the breast plate. The breast plate will act as an anchor for the shoulder wings and help keep them closer to the midline of the body. It's very important that the lace is wrapped around a portion of the breast plate and the shoulder wing.
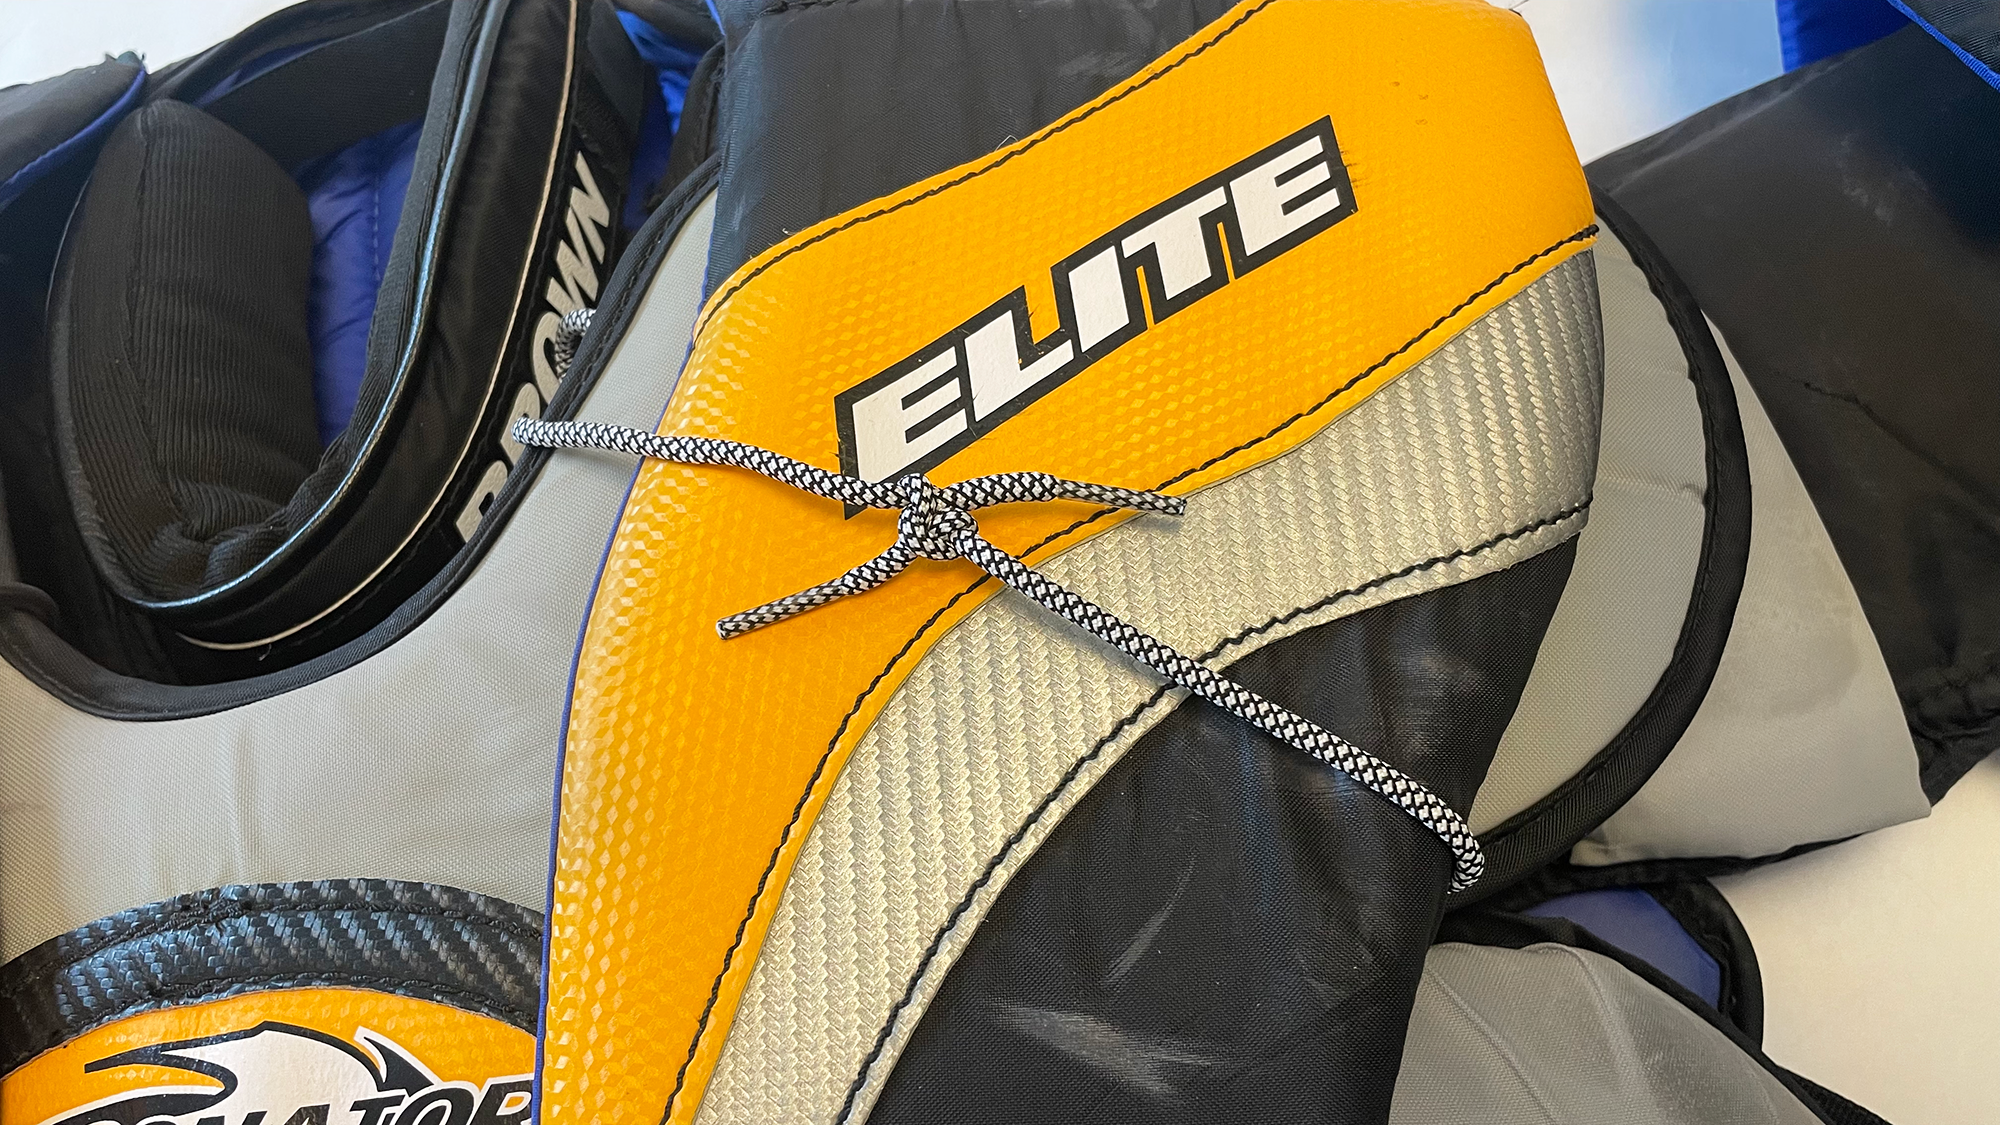
Step 3
Position the shoulder wing roughly 1" to 2" (2.5cm - 5cm) from the edge of the breast plate, any closer to the neck area and shoulder wings can interfere with head movement. Hold the shoulder wing in position, and then securely tie both ends of the lace together. The lace should gently hold the shoulder wing in position; loose enough to allow movement in the shoulder wing, but snug enough to prevent the shoulder wing from drooping again. Make sure your knot is strong and holds well. Trim any excess lace off.
Step 4
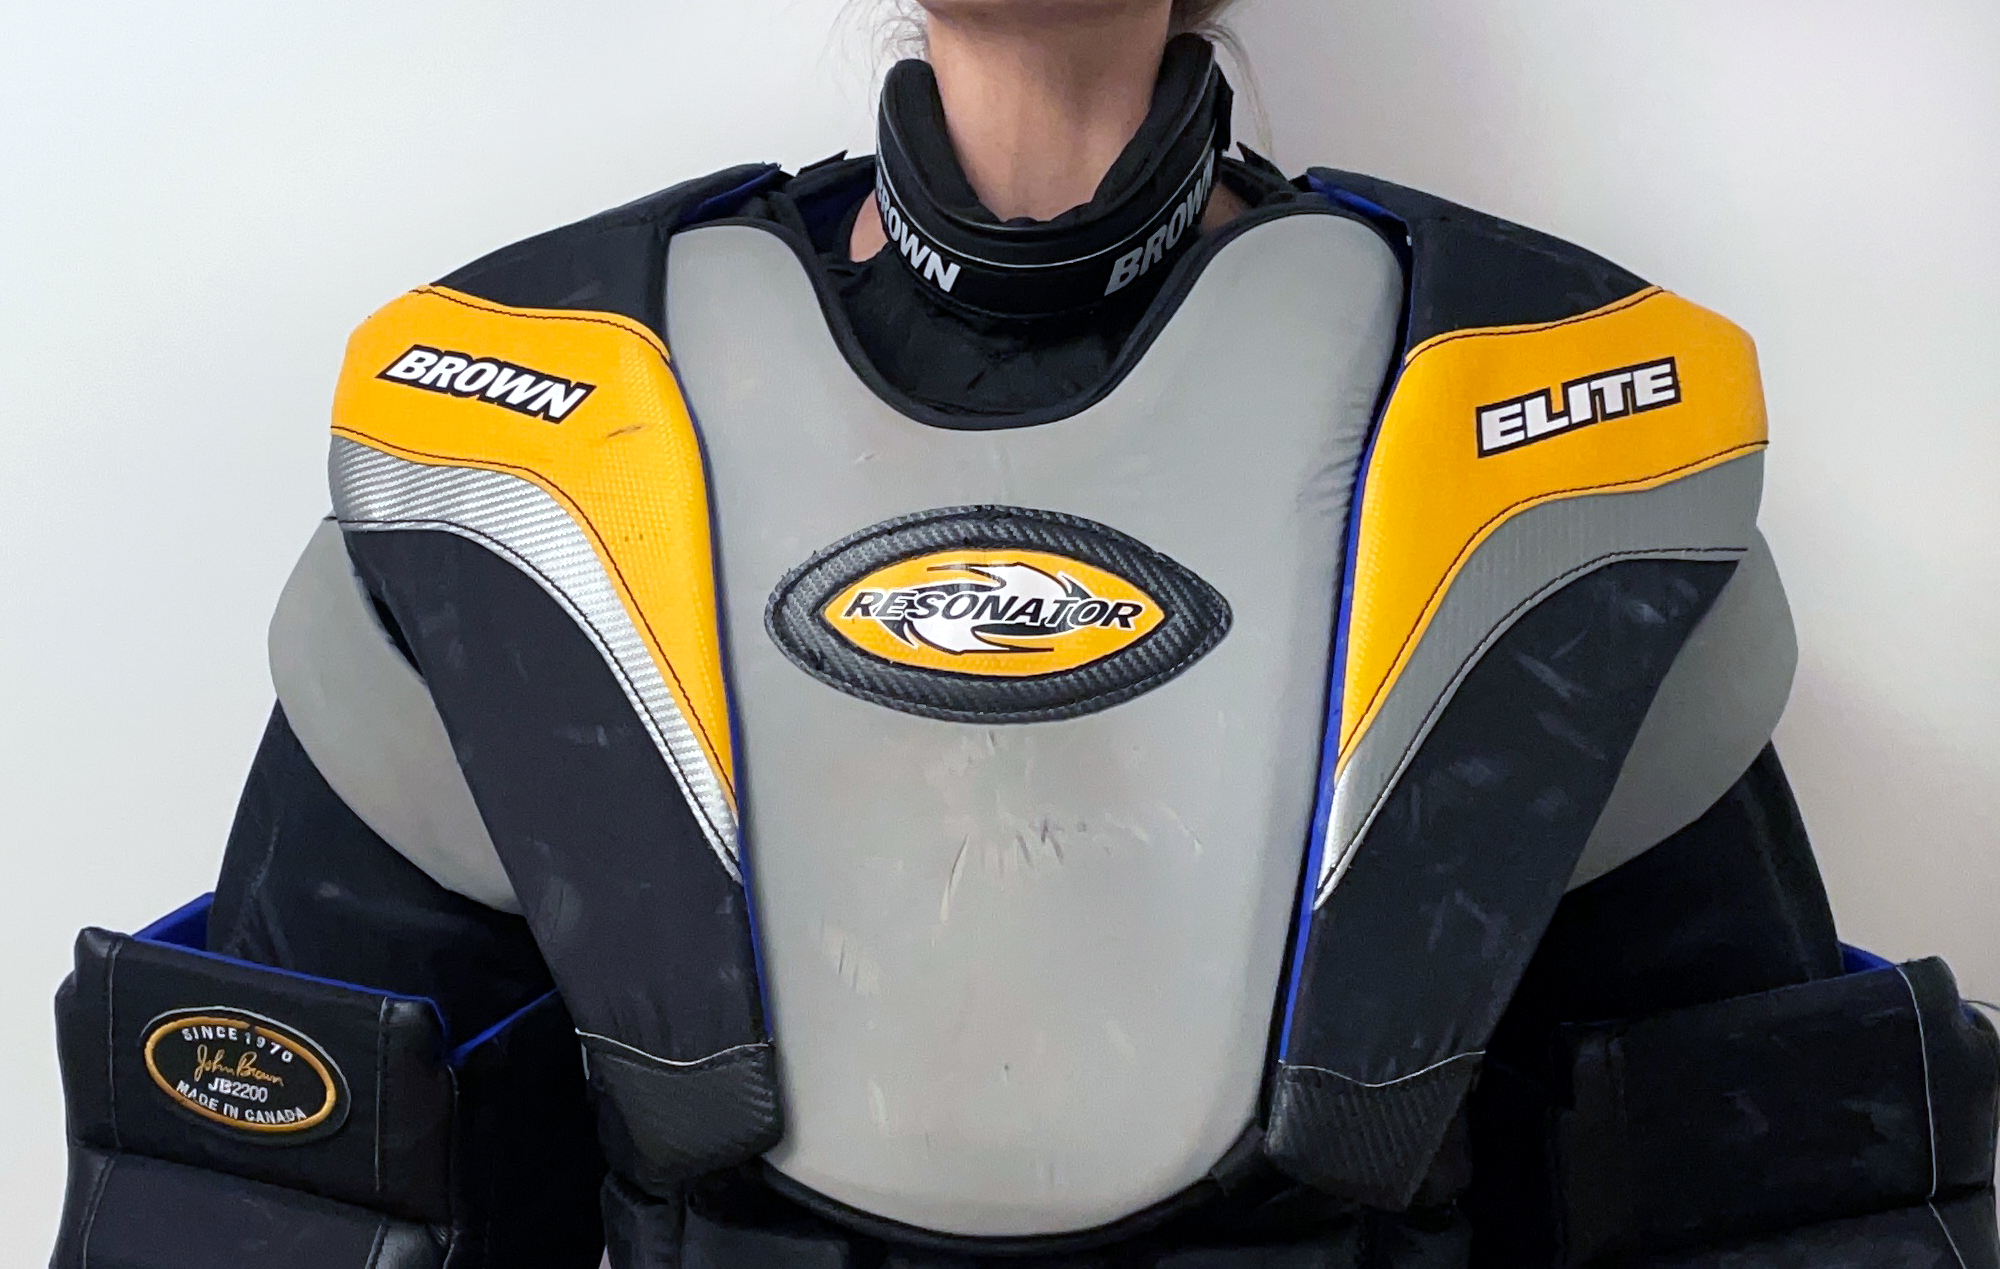
Repeat steps 1 to 3 for the other shoulder wing. When both shoulder wings are done there should be a noticeable difference, as shown in the photo below.
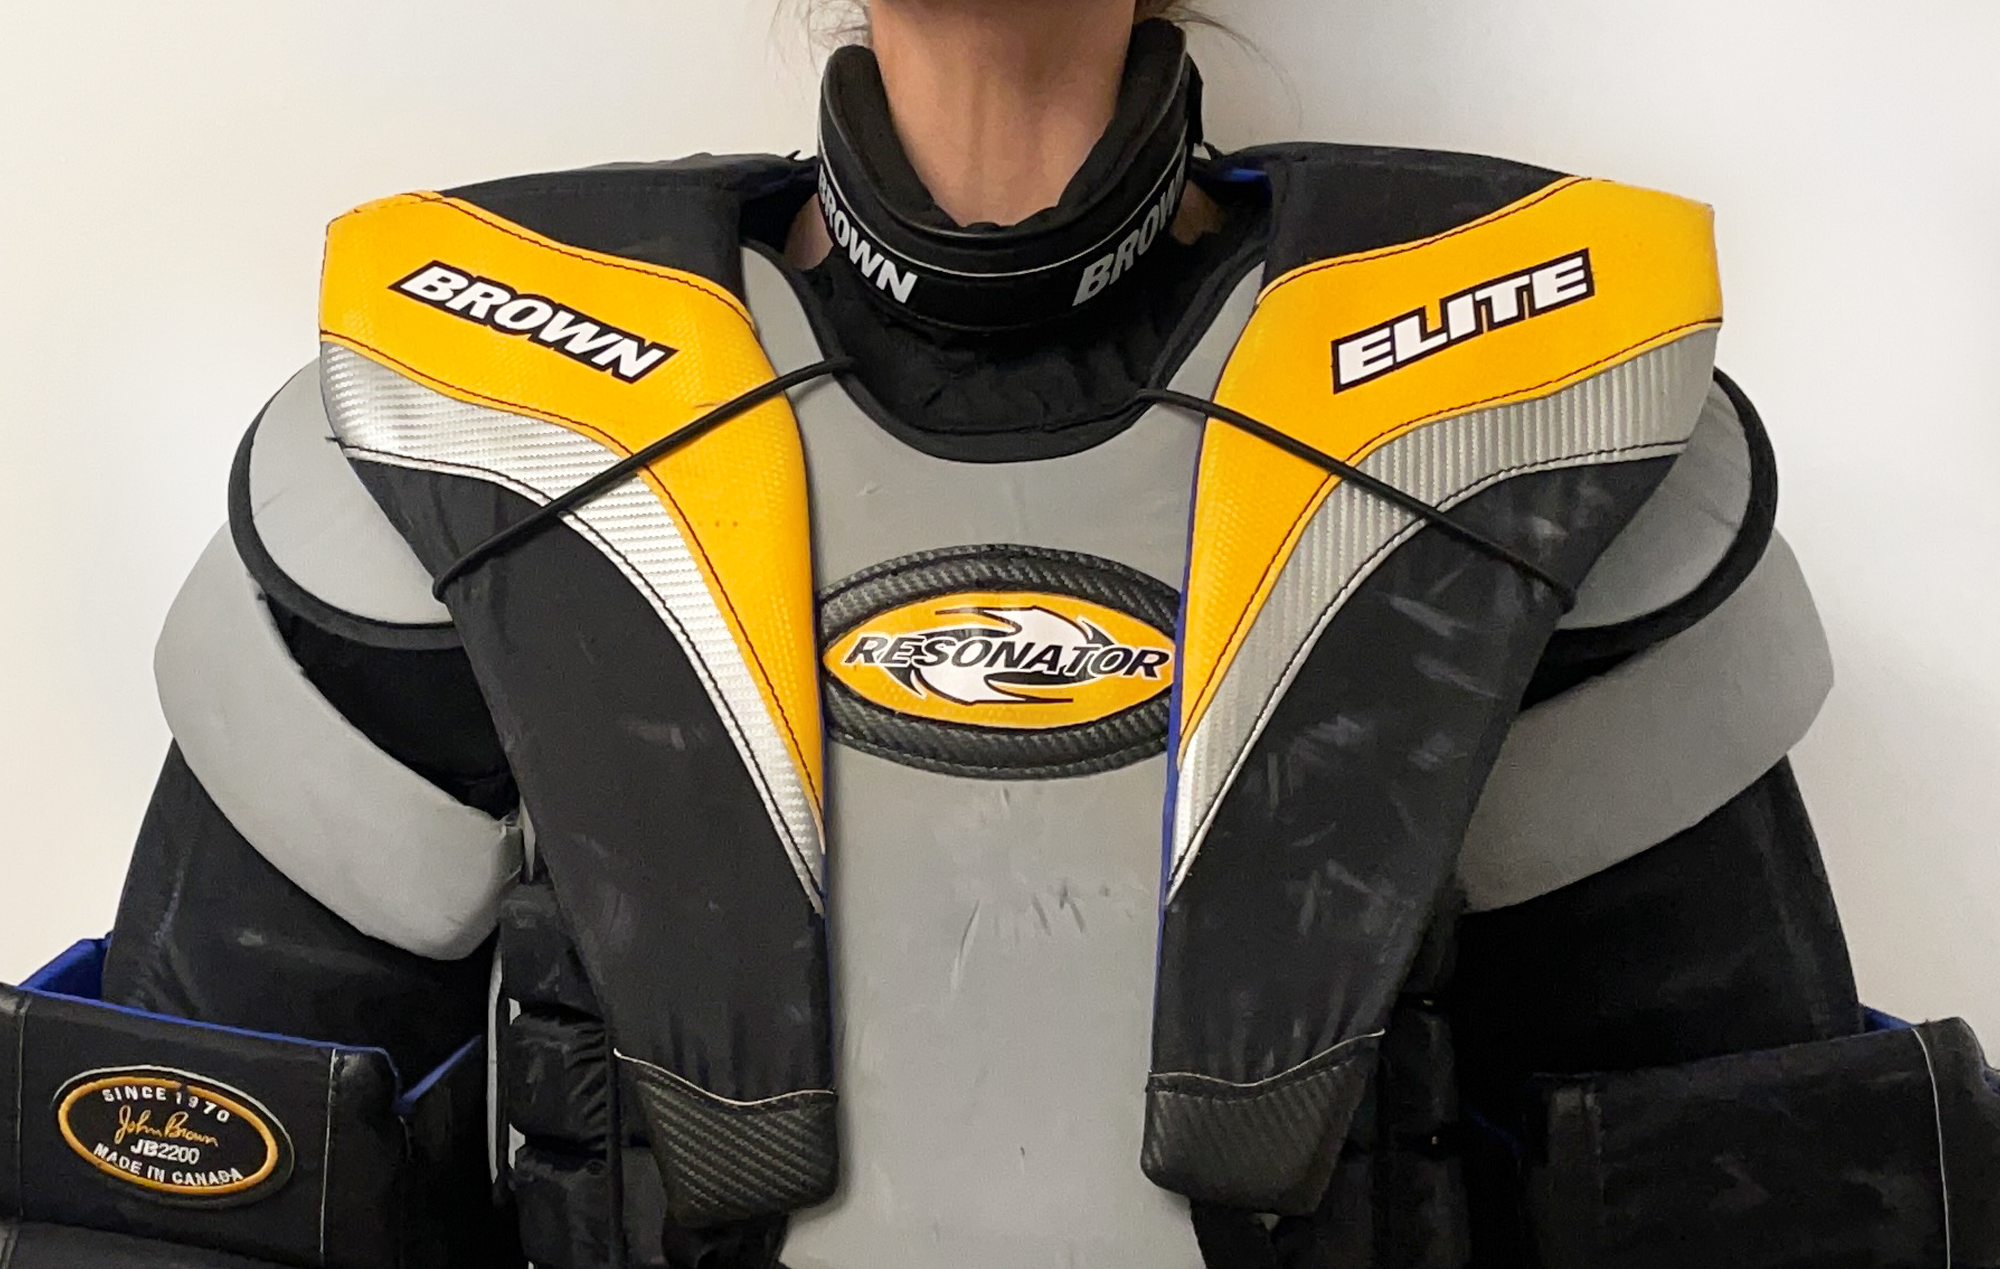
Square Shoulders
This simple adjustment will help square up the shoulder area, preventing the shoulder wings from drooping or sagging, and add many more years of enjoyment.
When purchasing a new chest protector, through the website, goalies can choose the optional elastic or lace tabs to connect their shoulder wings together, and proactively prevent drooping over time.
Attention:
The company has shut down. Read More »